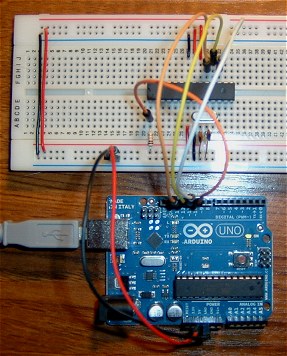
Arduino Bootloader - Setting up the Arduino
Luckily for me, someone a lot cleverer than I am has done all the work here. Bill Westfield ("WestfW") has written an Arduino sketch which not only has all the code required to do the burning, it contains text "images" of a bootloader version he calls "OptiLoader" - actually several images for the various flavours of ATMEL chips (328, 328-P, 168 and 8).To make sure you get the latest versions, I'll simply post a link here: Bill Westfield's optiLoader. Simply download optiLoader.h and optiLoader.ino as the ZIP file (or copy/paste them from the listings into Notepad) and save them together in a folder (called optiLoader) inside your Arduino Sketches folder.
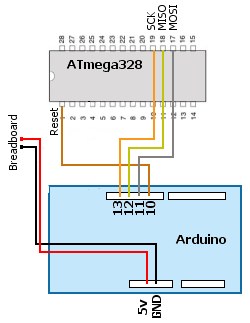
Now, simply load the optiLoader.ino Sketch into your Arduino IDE, upload it to your Arduino and then unplug the USB to power it down while you connect the breadboard ATmega328 as shown here:
 |
 |
|
Once everything is connected up, re-insert the USB cable. This will reset the Arduino and the burning process will probably begin automatically. Wait until the Tx/Rx LEDs on the Arduino stop flashing before going any further.
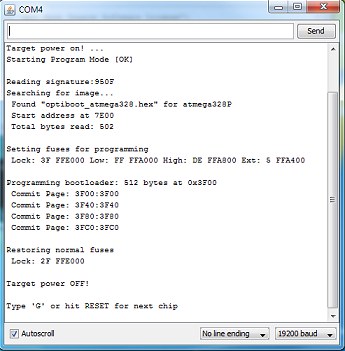
I like to see confirmation that all is well so open the Arduino IDE Serial Monitor (at 19,200 Baud). This will auto-reset the Arduino and burn the "target" ATmega328 again. You should see something like shown below. Label the chip so you know what's what. Disconnect the USB cable to power down the breadboard. Job done!
 |  |